Add an OpenAI Ads destination
Written By Vincent
Last updated 13 days ago
Before adding the OpenAI Ads destination in Metrion, make sure that you do not have another integration sending the same conversion events to the same OpenAI Ads account. If multiple sources send the same events independently, this can result in duplicate conversions and inaccurate reporting.
If you already have another OpenAI Ads integration in place and want to keep it, you can use a separate setup for Metrion. This allows you to run Metrion alongside your existing configuration without sending duplicate events to the same destination.
How to add an OpenAI Ads destination
Choose OpenAI Ads when adding a new destination in your Metrion installation
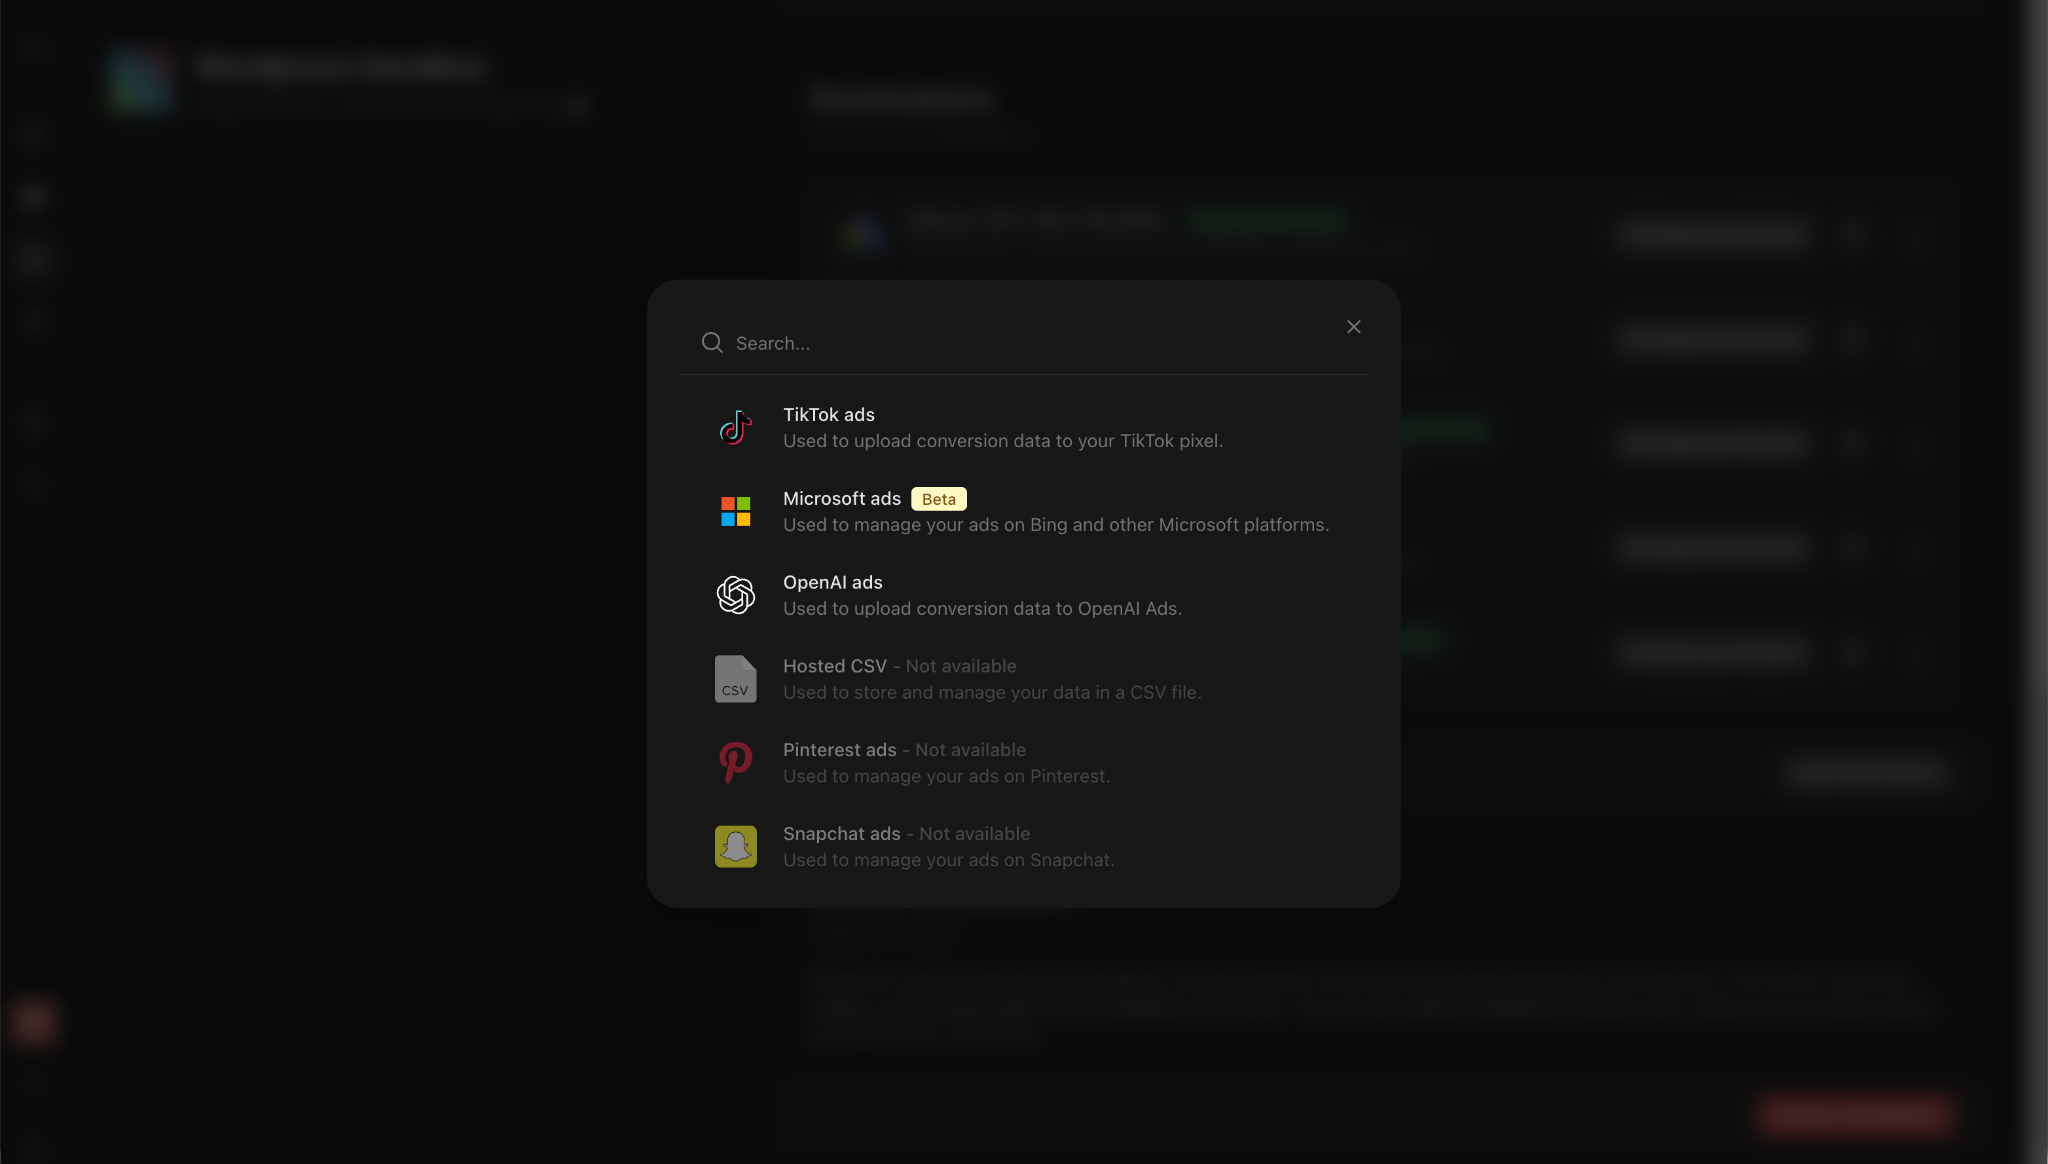
Provide the following information:
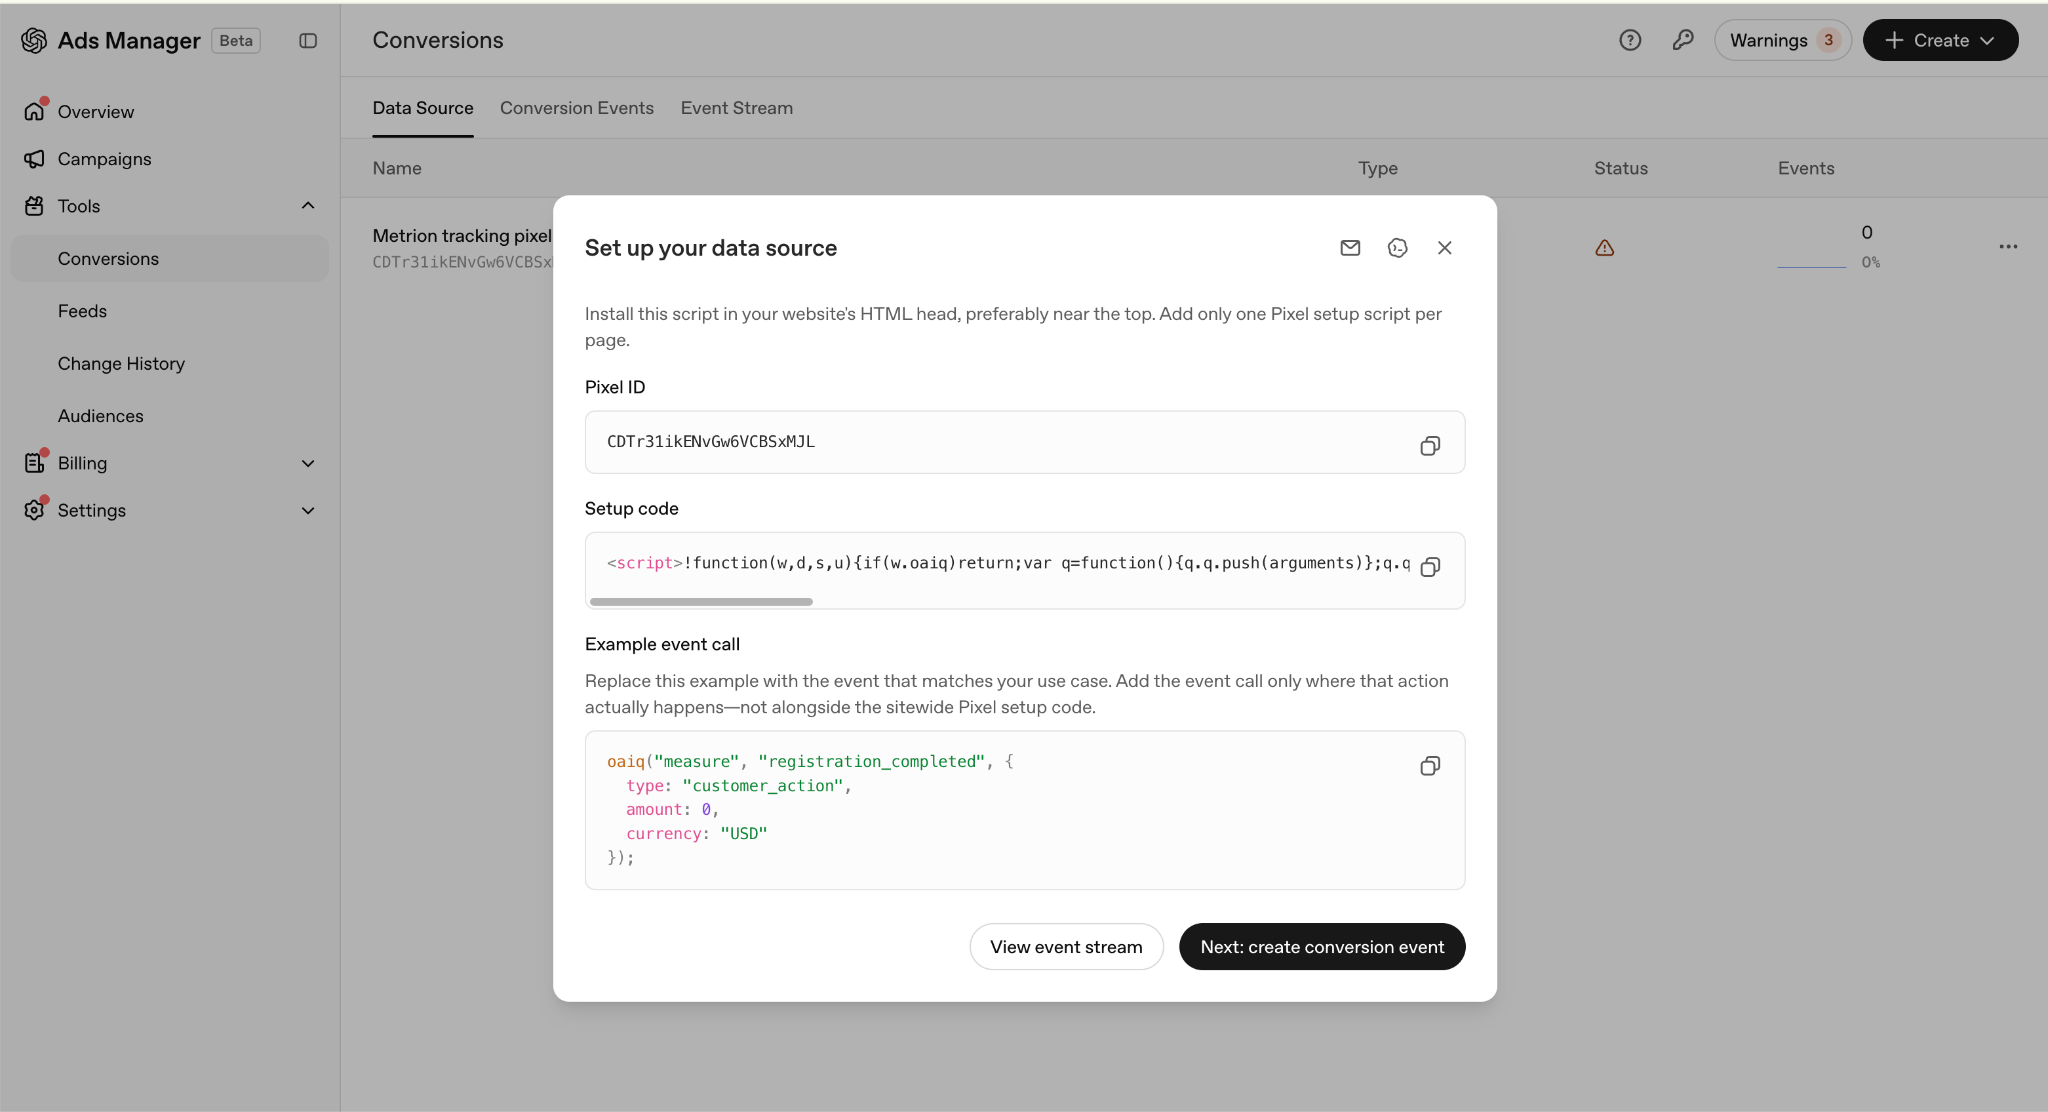
Pixel ID
Go to your OpenAI Ads account.
Navigate to the Tools > Conversions section.
Create a Datasource
Give your data source a name (only for identification).
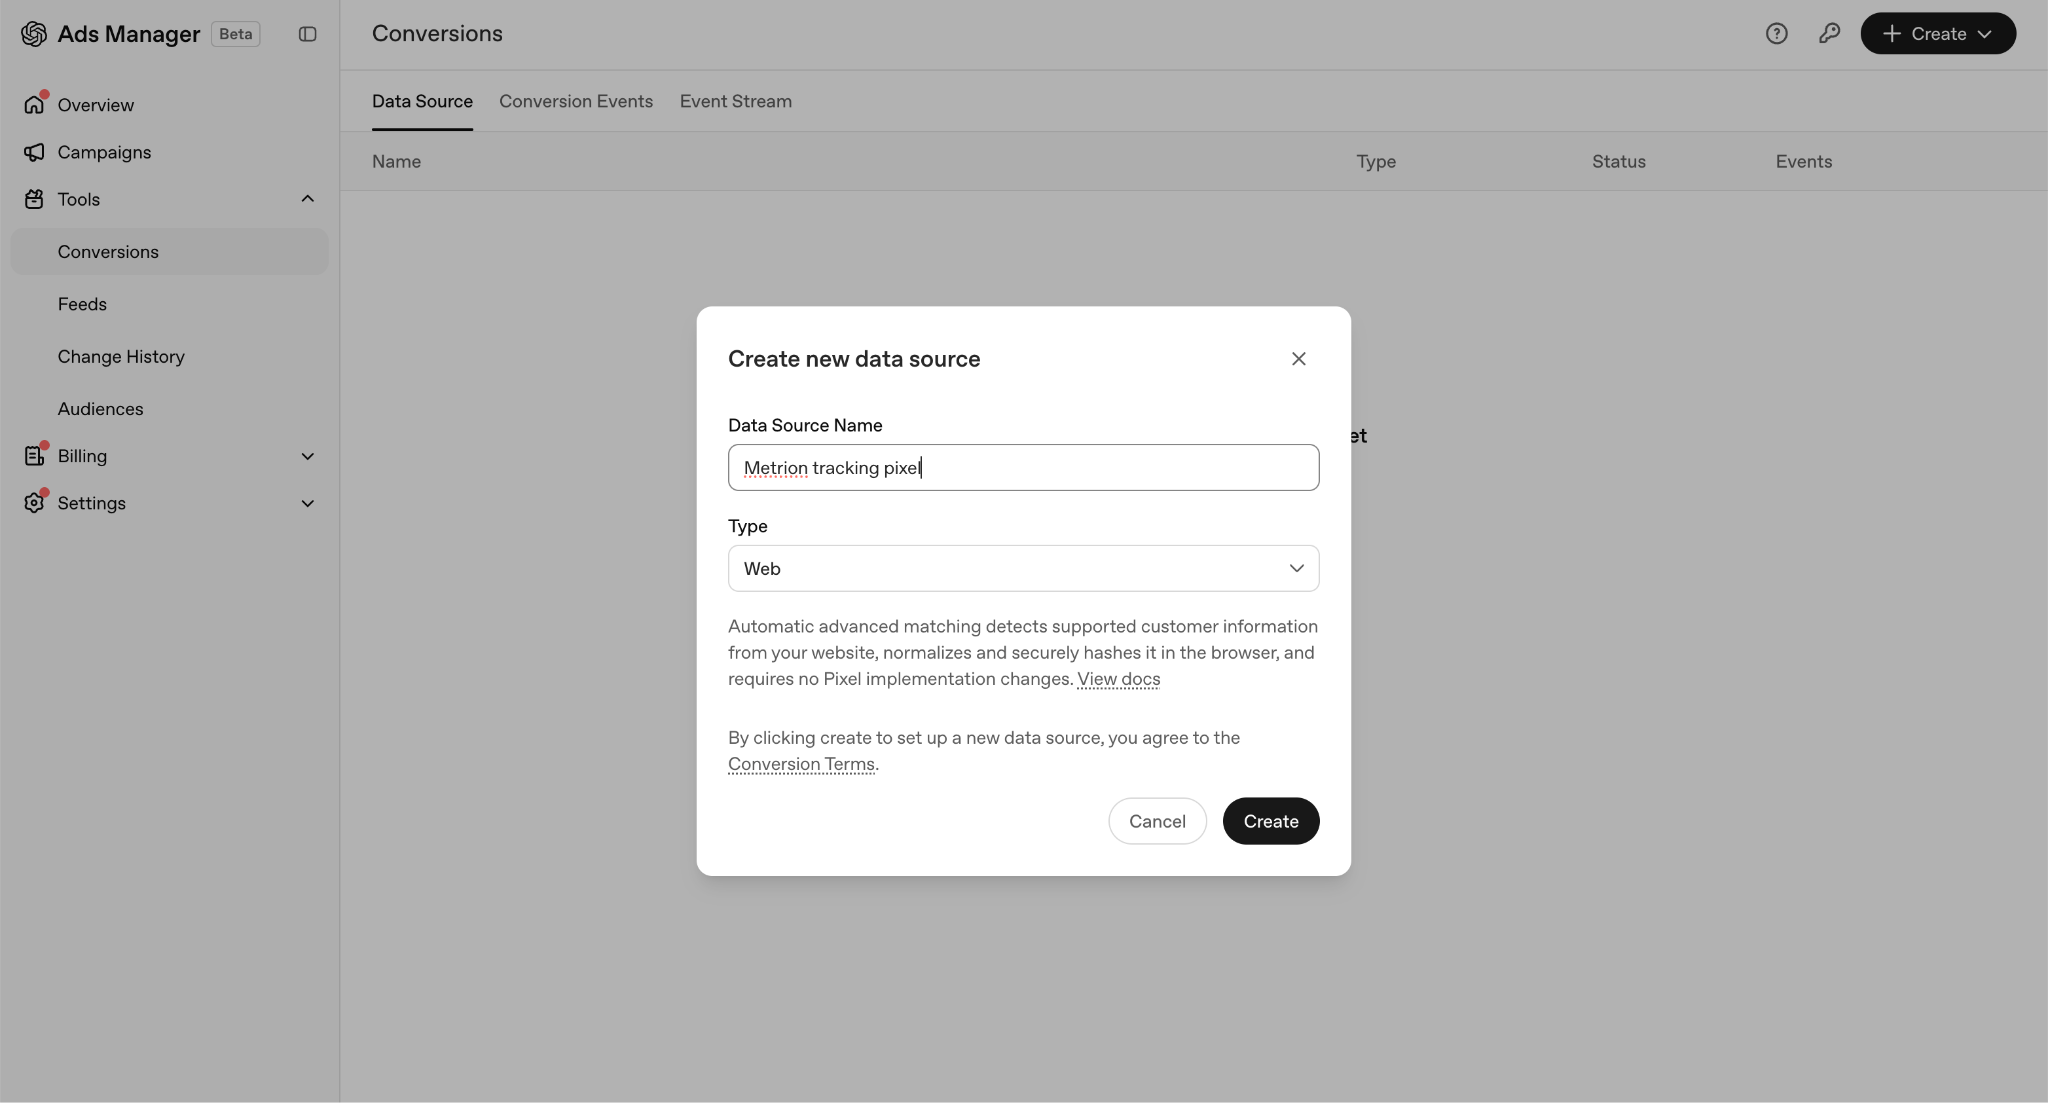
Copy the Pixel ID
API key
In your OpenAI Ads account, navigate to Settings > General
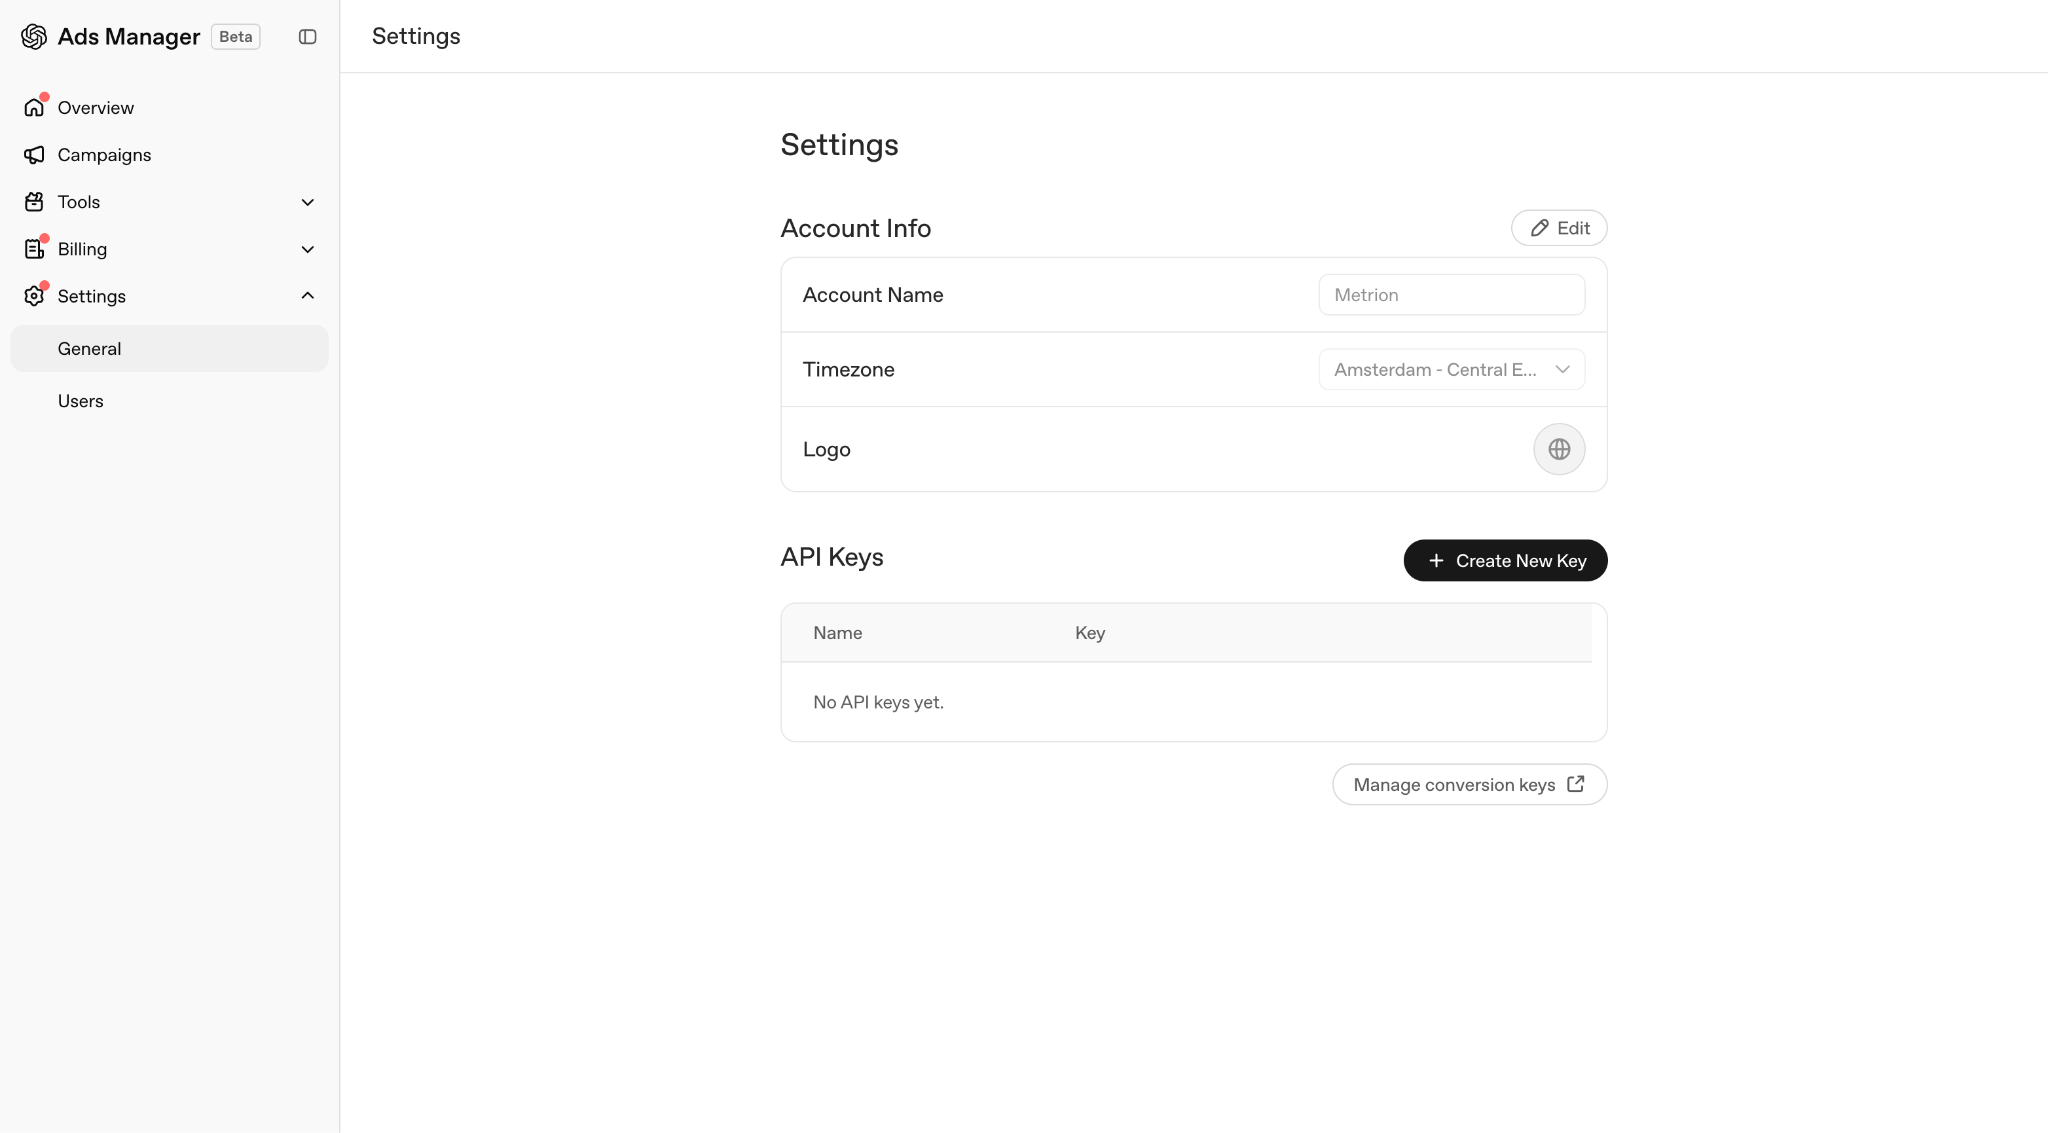
Create a new key
Give your new key a name (only for identification)
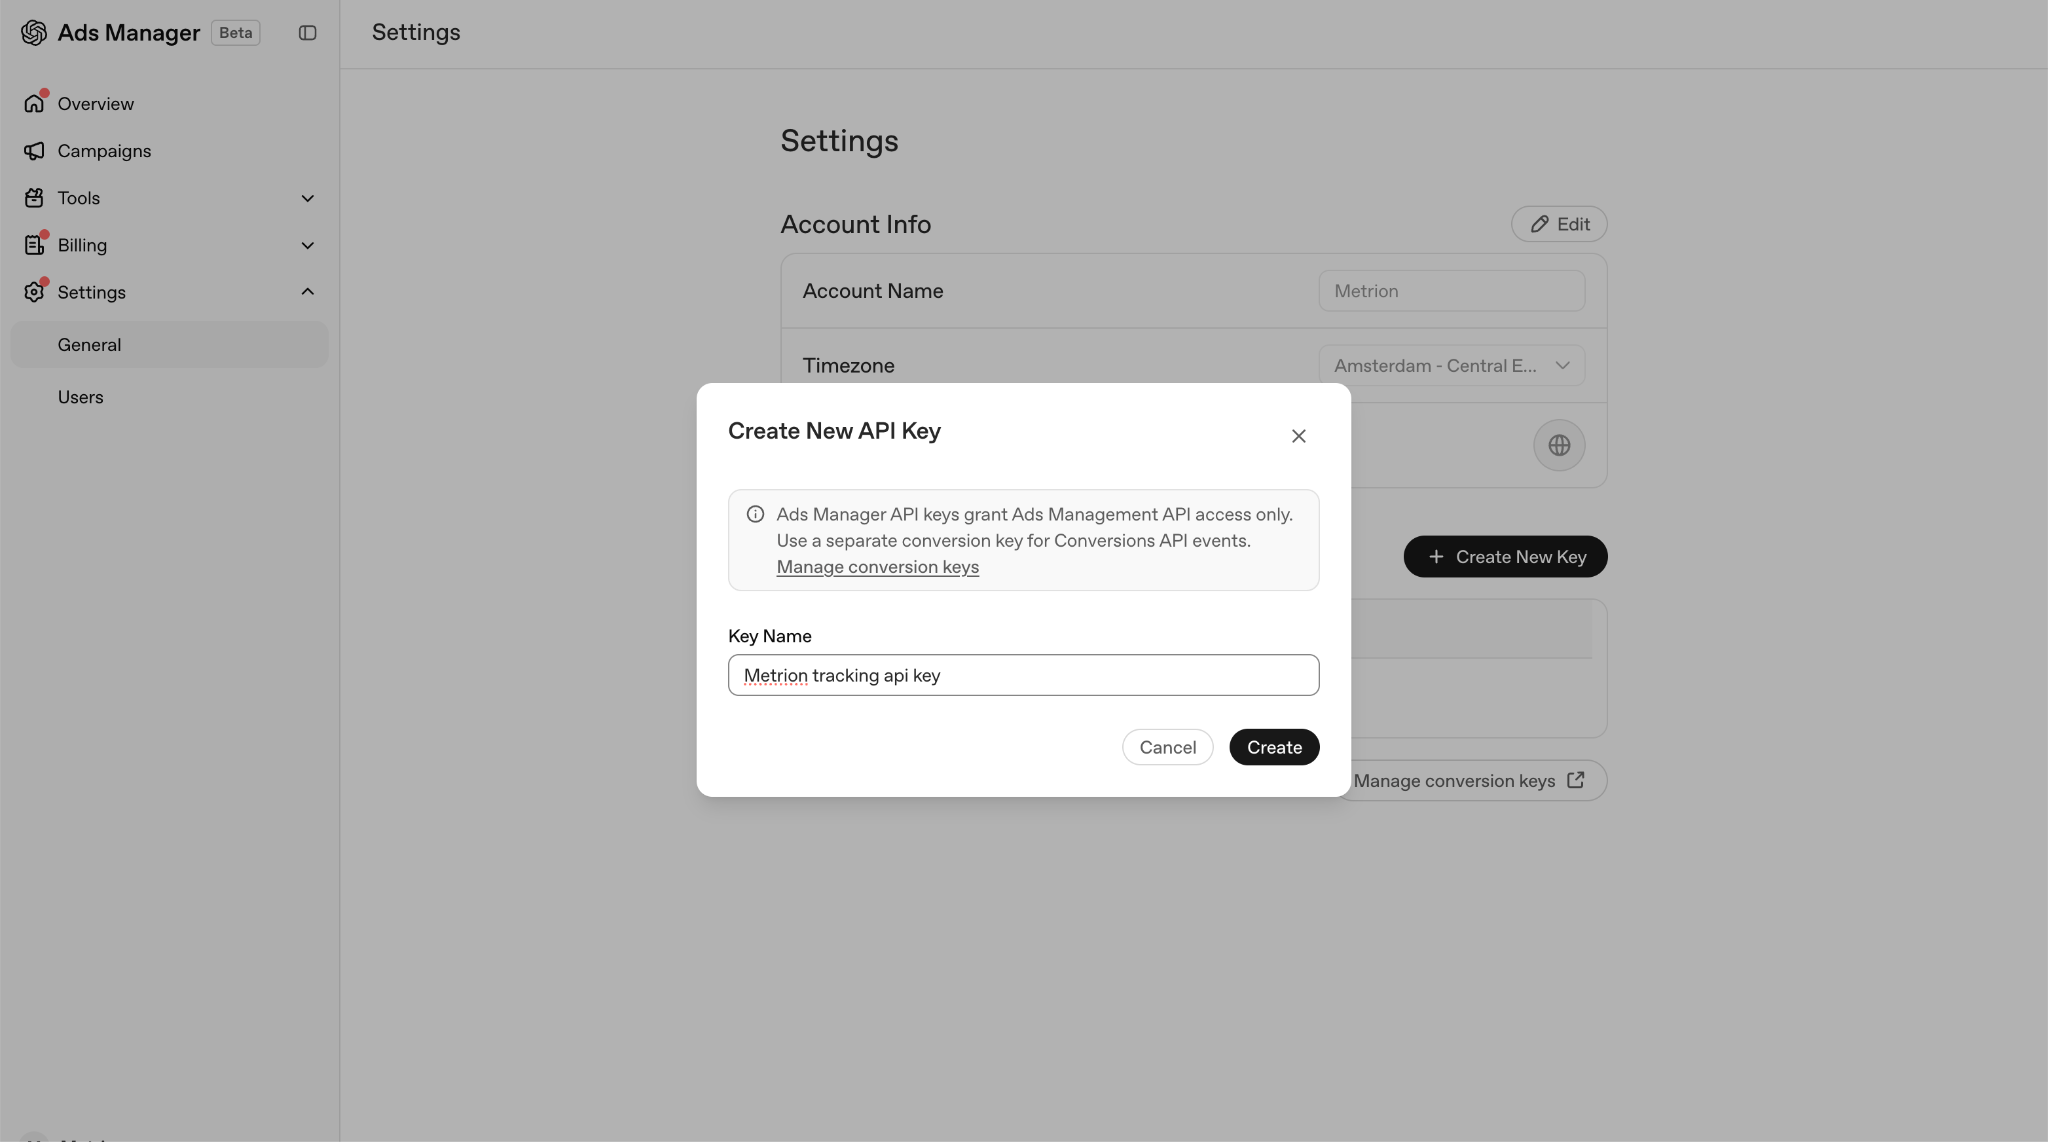
Copy the API key and paste it into Metrion.
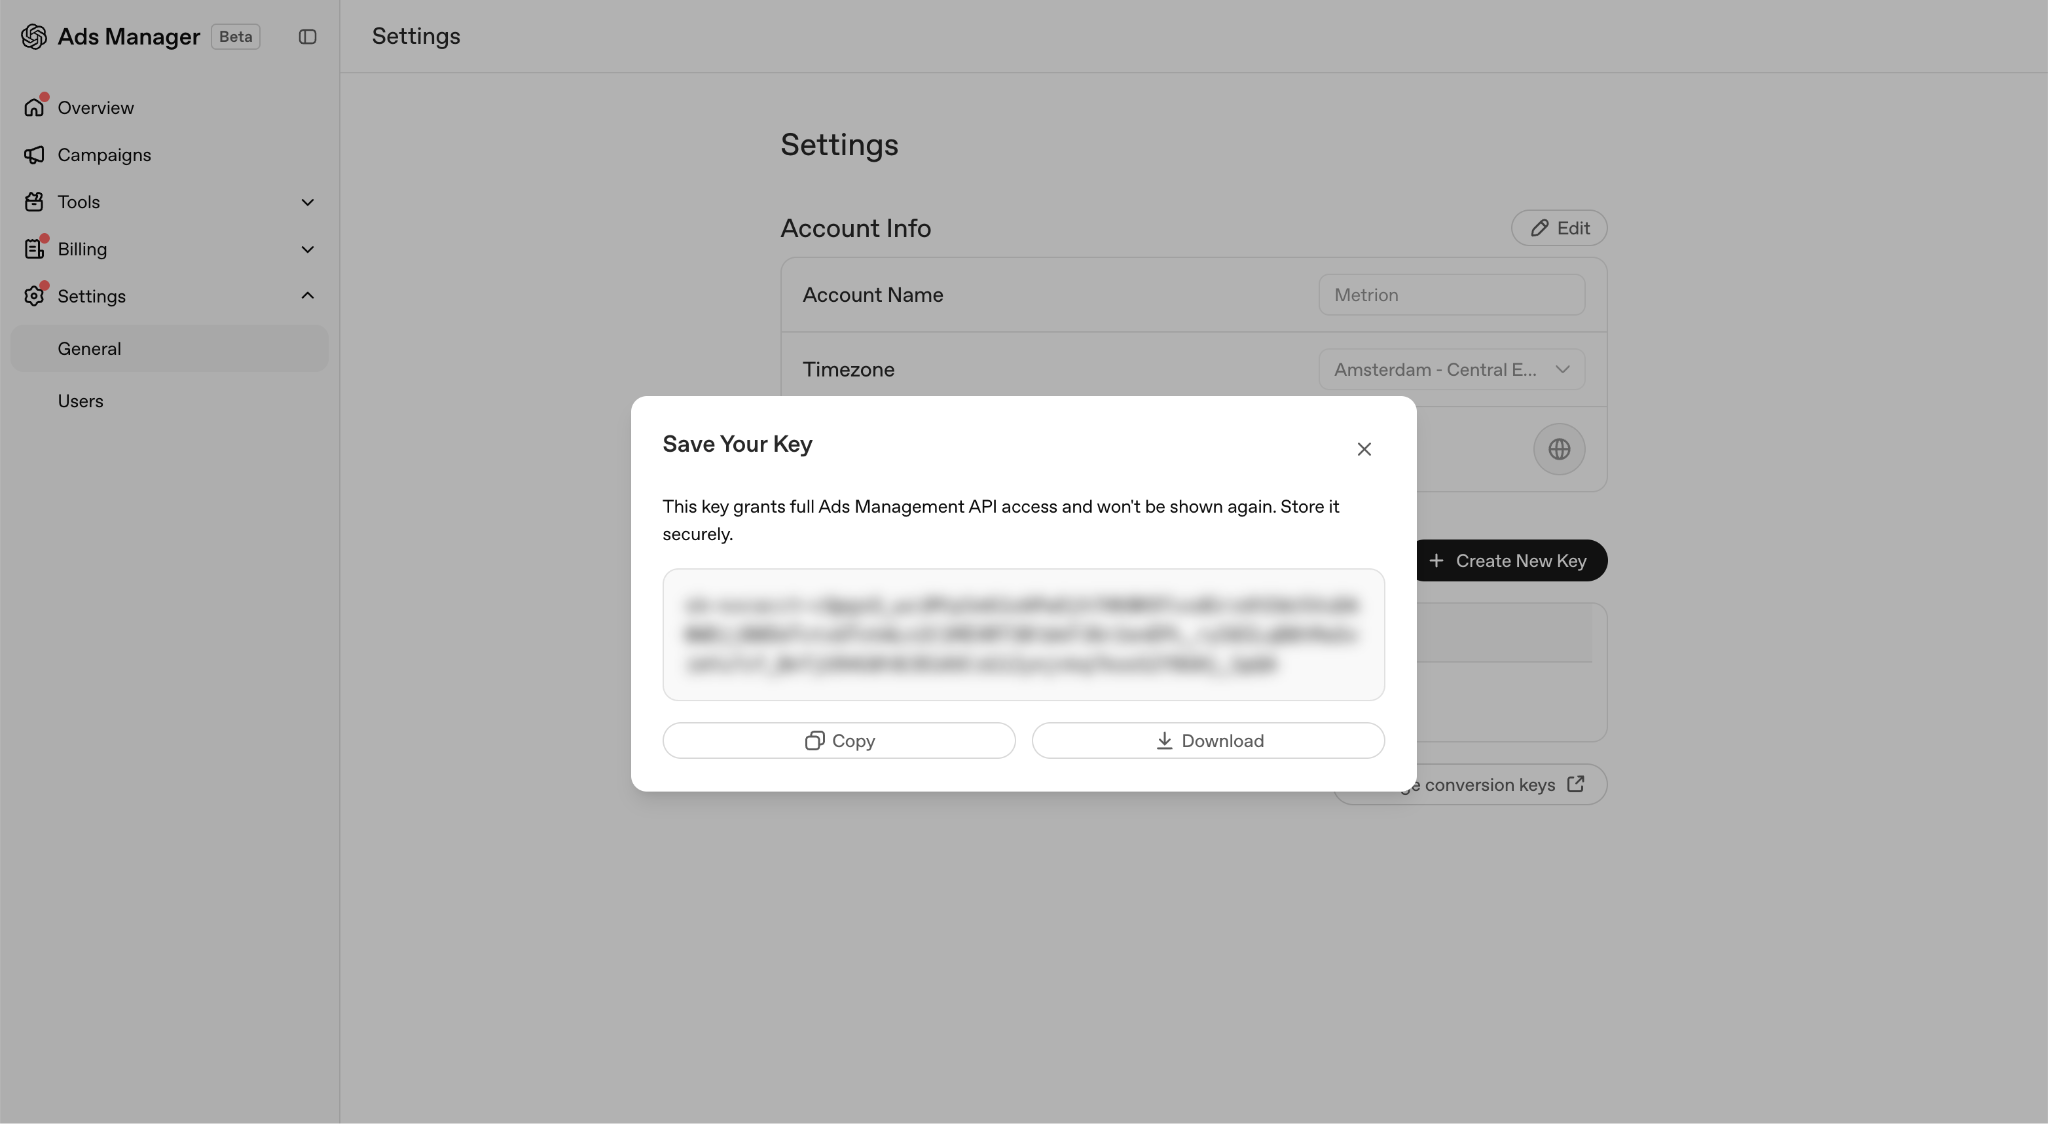
Now test your connection. Metrion will send a request to OpenAI to check whether the connection is working. Once that succeeds, add the destination. You can then create a sync to send conversion data for Open AI Ads.
Create conversion events in OpenAI
For OpenAI to successfully receive your conversions, you need to create conversion events in your OpenAI account.
Go to Tools > Conversions > Conversion Events.
Click Create.
Add at least one of the following events:
Order created
Items added
Checkout started
Contents viewed
Page viewed
Save the conversion event.
You can create multiple conversion events if you want to track different types of customer actions.
Was this helpful?
Still need help? Ask the team